This lesson is in two parts. The tutorial will be listed with next weeks lesson.
Downloads for the lesson :
calendars-01.zip
calendars-02.zip
Note: The file 'Calendar_dates_v6.psp' is to be used for PSP 7 users also. It is the same file just different name.
For calendar dates in an American format-by Talbot Rose click HERE Instructions for changing the color of the download is given further down this page.
I did this calendar after class. I wanted to see how much trouble it is to move the dates, days, and lines around. It is a lot of trouble! Actually seems easier to just add the text new each time. So I saved my American format and zipped it up for you to use. See the link above. HTH make it easier for the rest of you to try to make an American model.
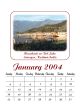
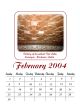
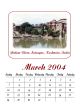
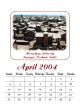
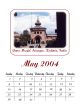
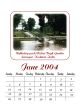
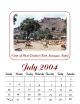
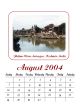
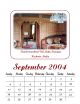
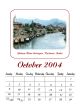
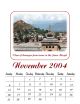
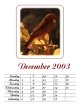
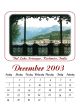
Once I got the hang of it, it got easier and easier. So I just got busy and made the rest of the year. Followed the class tutorial except for moving the dates around and adding other pictures. Click on any month to see the full size.
Instructions for changing the color of the elements in the calendar date downloads, both Euopean and American models.
After opening the model of your choice, copy and paste as a new layer to your work space as stated in the tutorial.
You will notice that the layer palette shows a vector layer with a + in front called layer 1. You may rename if you like. Open up all the +'s till they are all open. Easier to get to what you want that way.
Making sure that your vector selection tool is activated click on anything that you want to change the color of, holding down the shift key to select more than one item.
When you have clicked all that you want changed, click on the properties button on the vector selection tool panel. When the properties box opens you will see a black box labled fill. Click on that box and a color box pops up. Select the color you want the items, and click OK. All the items that were selected change color! Neat trick !


If you have questions or comments, please E-mail me.