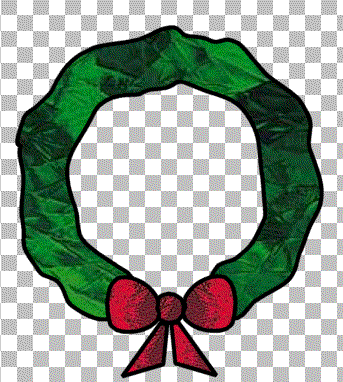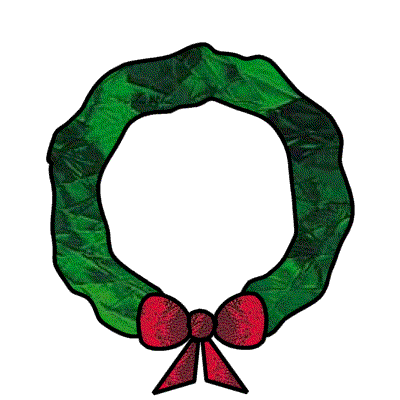
1. Add a new vector layer and name it wreath
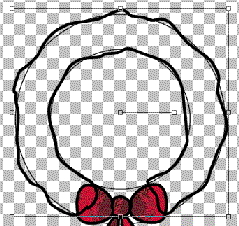
2. Activate the drawing tool (the pencil just above the preset shapes) - set it for Freehand, Line width 4, Antialias and Create as Vector both checked. Draw holding down the left mouse key. Start at the bottom of the left bow and using the guidelines go around the outside edge. When you get to the right bow, loop around to the inside of the cirle (DO NOT LET GO OF THE MOUSE KEY) and continue around to the left bow and connect up with the beginning. Don't worry about following the guides exactly, they are just to help you get a rough circle. And the beauty of vectors is that you can edit the lines after you finish. The main thing is to get one continuous line that encloses the shape so that we can fill it with glass later.
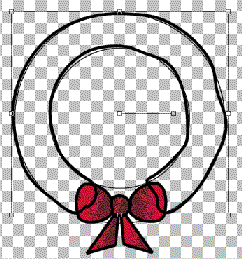
3. Activate the Vector Object Selector (square with nodes and a cursor) and click on Nodes edit. To add nodes hold down the control key and hover the mouse over the line where you want to add a node - when you see the word add next to the + sign click your mouse and it will add a node. Add a bunch of nodes on both the outside and inside of the wreath. Placement and number of nodes not critical. Just fill in any spaces so that there are lots of nodes.
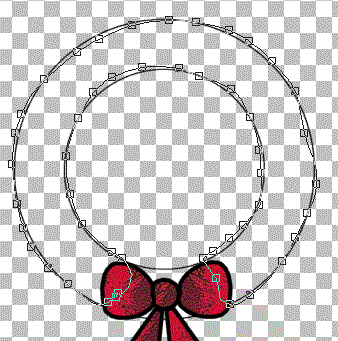
4. Now we are going to make the edge even more wiggly than you originally drew it. LOL Just grab some nodes and move them a little in or out, up or down to make a rough uneven edge. When you think you have it right click and quit node editing and look at it. If it still does not suit you just right click and Node edit some more till you are pleased with it.
5. In your Vector selector Pallette, or right click and choose Properties. In the Vector Properties pop up box in the Styles box click the triangle in the fill box to change it to pattern (the dots) Then click on the box itself and call up the pattern selector. In the box showing the pattern click on the triangle in the side bar and get your pattern choices. Select the dark green color you chose from the Spectrum Glass site and have minimized at the bottom of your work area. Set scale to 150. Click OK. then click OK again.
6. Move the wreath layer below the bow layer. Delete guideline layer, and finish off anyway you wish.
