
1. Click on the -(minus)sign in front of the candle layer and close that section before we start the wreath. Then add a new Vector layer and call it wreath
2. Activate the drawing tool (the pencil just above the preset shapes) - set it for Freehand, Line width 4, Antialias and Create as Vector both checked, Close path not checked. Draw holding down the left mouse key starting at the bottom left bow and go around the outside edge of the guideline. When you get around to the right bow cross over and continue around the inside of the guideline circle, connecting up with the beginning. Draw gentle wiggles as you go around. Don't worry about it too much because we can edit and move the lines if you don't like it. That is the beauty of vectors! But, you must hold down the mouse key for one continuous line.
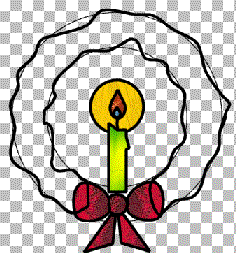
3. Make sure Freehand is highlighted in your layer pallette and activate your Vector Object Selector tool. Choose node edit. Here you may play around all you want with the nodes/ add some to fix places that are too flat/ move some that stick out or in too much/ play with theNode Type selections by right clicking. Fix it any way you like, but leave it wiggly.
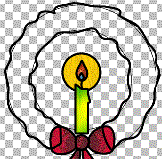
4. With freehand layer still selected in your layer pallette, go to your Vector Object Selector pallette, click Properties
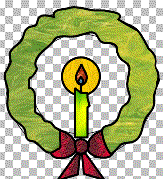
5. In the Vector Properties pop up box in the Styles box click the triangle in the fill box to change it to pattern (the dots) Then click on the box itself and call up the pattern selector. In the box showing the pattern click on the triangle in the side bar and get your pattern choices. Select the light green color you chose from the Spectrum Glass site and have minimized at the bottom of your work area.
6. Fill with light green. Set angle to 0 and scale to 150. Then drag the wreath layer down below the bow layer.
7. Open a new image window 300 x 300, transparent with 16 million colors.
8. Add a new vector layer and name it holly leaf
9. Activate your Preset Shapes and select Hexagon. Draw a large hexagon much wider than high.
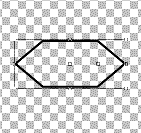
10. Activate your vector Object Selector and go to node edit. Add nodes between every existing node.
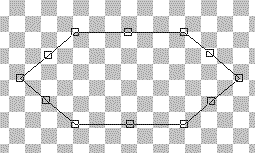
11. Now we are going to move those nodes and add a curve to each of the ones we added. Pick any one and move it in to the center a little, then right click and select Node Type/Symmetric. This adds an arrow with a point on one end and a circle on the other. Grab one end and slowly pull it out from the node. Watch the curve it makes. When you like the curve let go. Pulled too far? Just push it back in. You can also rotate it with this arrow. Play with it till you like the curve.
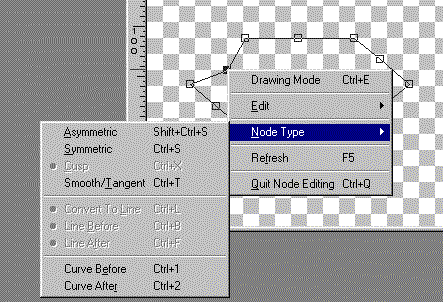
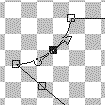
12. Work on all the nodes till it looks like a holly leaf.
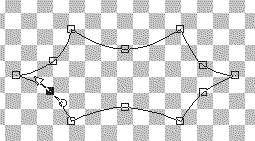
13. Right click and quit node editing. Right click and select properties. Fill with dark green, angle set to 0 and scale set to 150. Click OK, click OK.
14. Copy this leaf with Edit/Copy or Control + C. Activate your main wreath image and paste this leaf as a new layer. Edit/Paste/Paste as a new layer, or Control + L.
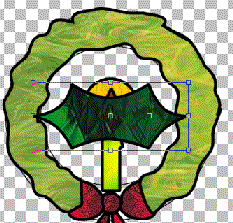
15. This leaf is way too big, so we will just use Image/Resize to make it smaller. First open up the new layer in your layer pallette and make sure that Hexagon is highlighted. Then go to Image/Resize. Set it for % of original and play around with sizes. I finally chose 30%, but you might need another size. It depends on how big you made it on the other page. BE SURE - Resize all layers - is unchecked! and maintain aspect ratio is checked. Click OK.
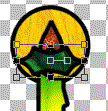
16. After you have it the size you want it, copy it with Edit/Copy or Control + C again to copy the reduced size. Then move this leaf any where you want it. To add another leaf, hit Control + G. Continue adding leaves all around. Use the built in rotator (the node that shows curved arrows when you hover the mouse over it) to twist the leaves around.
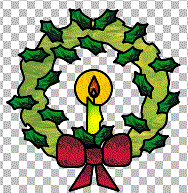
17. In your layer pallette highlight the top layer and then add a new Vector layer, name it Baubles
18. Activate your Preset Shapes. Select Ellipse and draw a small circle on the wreath (other settings as before). Hold down the shift key to make sure it is a true circle and right click the mouse to see it grow evenly.
19. Activate your Vector Object Selector and choose Properties. Fill the circle with a red glass of your choice. While it is still selected copy it with Edit/Copy or Control + C.
20. Now hit Control + G and add another one. Move it into position. Add another etc., till you have filled the wreath with red circles
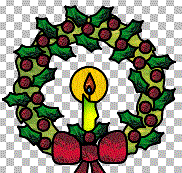
21. Now you may leave it with all red berries, or to change the color click on any red berry to select it, then click on properties and click on the color/pattern selection area and choose another color. When you click OK the berry changes color. Leave some red, but choose any other colors you like.
22. In the layer pallette, delete the guideline layer.
23. Your wreath is finished. Save a copy to PSP, then you can merge all visible layers to get it ready to to save as a transparent gif.. Before you export it you might change it to a Raster layer, use your magic wand to select the black lines and using Effects/Sculpture Change the black lines to silver or gold. You could add a background layer. Finishing is up to you.