This lesson is in two parts. This is the second part of our leather bound book.
If you would like to try this tutorial go here.
The assignment this week is to create your very own library. Display at least four book of your own creation including the one from the tutorial. You may display them as a group or as individual pieces.
Now is the chance to publish all of those great books that you, or someone you know, have been putting off for years! Have fun!
Again, please remember to describe how you created each of your own images; this gives us the opportunity to learn from each other.
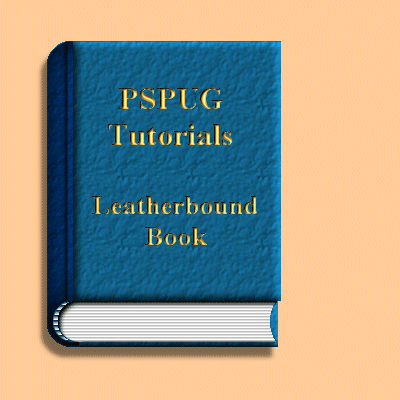
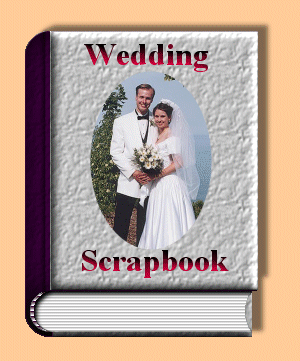
This is the second book that I began creating last week. I finished it following the tutorial very closely.
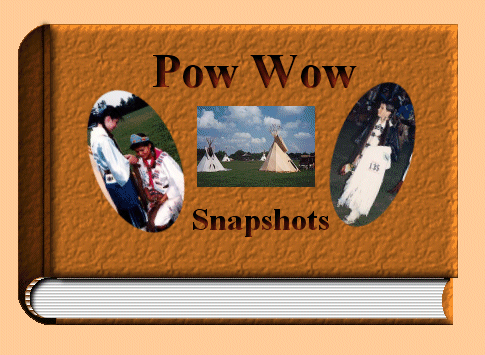
Finishing the third book that was started as the homework for last week. Continued following the tutorial very closely.
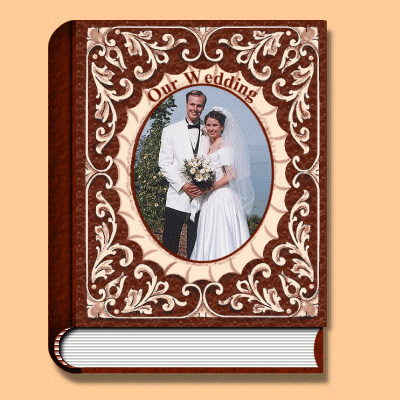
One of my earlier hobbies was carving leather. When I heard leather bound book, my mind immediately jumped to carved leather. This is my attempt to make a book that looks like it is carved leather. I am still working out how I want to do it to make it really look like carved leather.
I built the cover in a separate transparent window. I scanned the impression that a single background leather tool stamp makes. Then I made a tube of that image. Using that I covered a 100 x 100 pixel area with the stamped image just as if I was actually doing it on leather. I flood filled this image with a dark leather color #6A1A04 set at 50% opacity. Adding more layers of color till it looked right. When the small piece looked right I used it as a pattern to flood fill the 1st layer above the transparent background of the new window I created to make the cover. Adding a new layer I created the outline of the center medalion and flood filled it with a light leather color #FEE6D0.
I did lots of stuff to this cover. I think I need to write a tutorial for it because it is too difficult to just tell what I did. I am not sure how to write a tutorial yet, so if you are actually interested in how I did this please contact me.

