I have just joined the PSPUG and signed up for classes that will start in September. So, I decided to try some of the class assignments from June to see how it worked. I decided to try the Glass Top Box Lesson. After downloading the tutorial and reading it over the first thing I noticed was that it was written for users of PSP7 and I only have PSP6. So I knew I would have to make some adjustments. I followed all the instructions I could and just winged it through the parts that I did not have. This is what resulted.

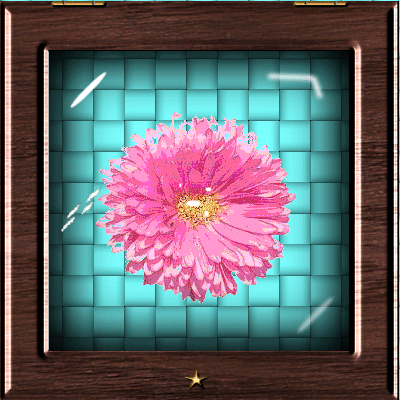
Then I reached the part of the tutorial where you are supposed to put something in the box. The only thing I had on hand was a flower that I had worked on to turn into a tube. The tube version that I had was too small for the box, so I went to my original picture and copied and pasted it as a transparent layer. This worked, but since the flower was pink it did not look very good with the pink background. So I changed the color of the background. This was the result.
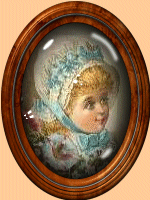
I wanted to try this technique with an oval shape. Ran into all sorts of problems. There are just too many things I don't know how to do yet. Anyway, this sort of wound up being just a framed picture with a glass over the picture and a shadow to give it depth.Here it is.
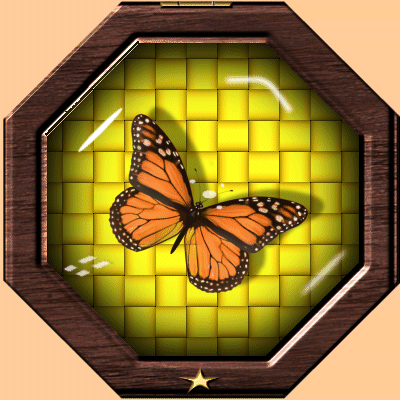
Next I tried an octagon shaped box. I used the preset tools to draw the shape. Had a bit of trouble with the corners of the silk layer until I remembered about the magic wand. Then I just clicked it in a corner and then deleted. When I finished the box I noticed that the magic wand had not gotten as close to the box as I would like so I went to the silk layer and used the eraser around the edges to tidy it up.
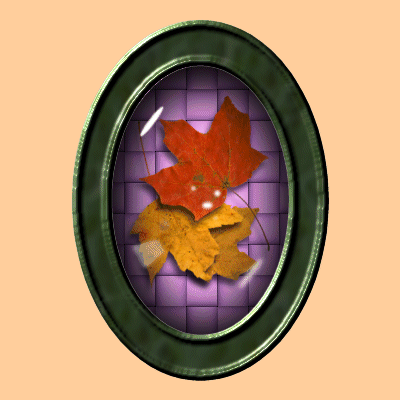
This time I made the whole box without referring to the tutorial except for how to make the shadow in the box. I had forgotten how to do that. Also, this time I made the frame first. Then when I made the silk layer I used the magic wand to select the area inside the frame. Then I used Selections||Modify||expand (10 pixels) to make sure it left no gaps. This worked to keep from having to get rid of all the corners.
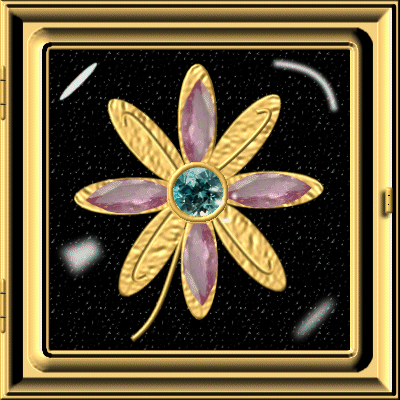
For this box I started by creating some jewel tubes from some pictures I had. Then I made the piece of jewelry using the tube as the center and embellishment on the leaves. Using the sculpture setting for gold and the texture setting for stucco I created a leaf and using the deformation tool and the mover tool copied and pasted as a new layer all the other petals. Did a freehand drawing on one of the petals with the drawing tool then used the sculpture setting to make it gold. Did the copy and paste as a new layer for all the other leaves using the deformation tool to turn them the right direction, and the mover tool to position them. Then I also made the stem the same way. When I started this I was just going to see if I could create a piece of jewelry. But I liked it so well that I decided to make a gold display box for it. When I finished the box it did not look quite as glassy as I would like, so I added a bit of texture to the black background and that seemed to help. I am actually getting pretty good with boxes now.
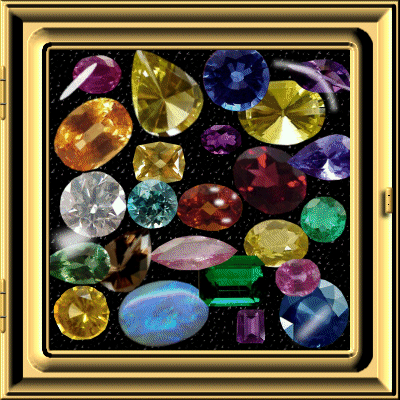
Got carried away making gem tubes. Decided to show them all off in the jewel box.
This is a wonderful tutorial. I can't believe I have learned so many new things in such a short time.