 |
OLD DOGS NEW TRICKS
NOVEMBER CLASS LESSON
Week I
This is the first of a three part tutorial. The assignment can be found here.
You can find the tutorial for this class here.
You can find the download for the class here.

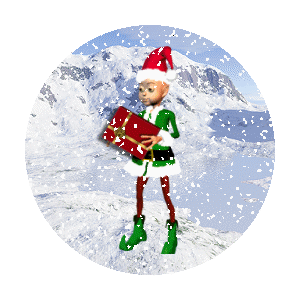
Made following the tutorial from Thursday's class. Only showing layer 1 snow.
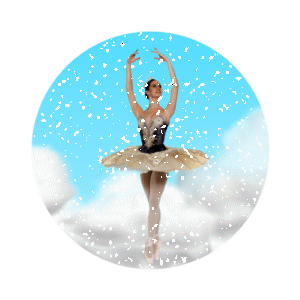
For the Saturday class I decided to make my own background picture. Started on a 600 x 600 pixel transparent page. Made a new layer and flood filled it with sky color. Then spent a lot of hours looking for snow on the web to use for a background. Nothing seemed right so I just used the cloud tube and placed them around till it looked OK. Then I selected a circle and made it 250 pixels. Played around with it a lot till I had it on a nice section of the clouds and sky. Copied and pasted as a new image. Then I enlarged the canvas size to 300 x 300 pixels and centered the globe. Then I made a tube of my beautiful, talented, kind thoughtful wonderful daughter. After playing around with the size settings for the tube finally placed it in the globe picture and merged layers, saving the final result as a merged .psp image with a transparent background. Then I followed the tutorial exactly. Showing layer 3 snow.
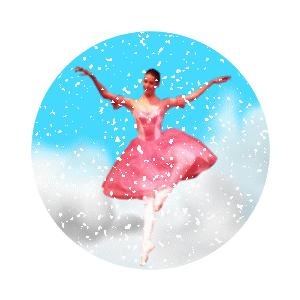
While I was looking through my pictures trying to decide which one to use for the snowglobe I found several others and could not decide which one would be best. So I just decided to try them all. This is made same as above, following the tutorial carefully.
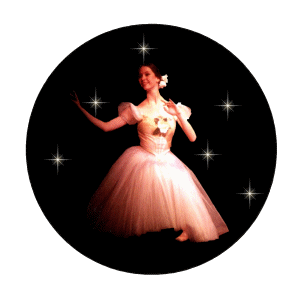
With technique same as above I made this globe with a black background. When I tried the snow flakes, I was not pleased with the way it looked. So I decided to go with twinkels on this one. Followed the tutorial except added twinkels instead of snow to the layers. Have no idea how this one will turn out, but I really liked the picture and will work with it.
I have put the ballerina tubes on my This and That Tubes page .
If you have questions or comments, please E-mail me.
Thanks MaggieA1.


|


