 |
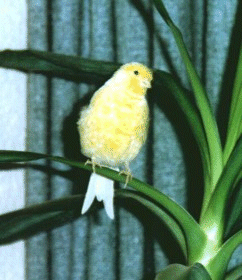
This was the original picture. I did not like the light streak on the left side of the picture so before I started I selected a portion of the picture and then resized it to the original height. But, now it is not quite as wide. |
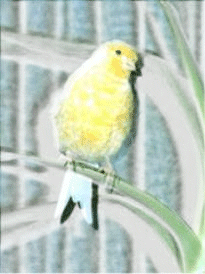 |
This is the picture using the green channel of the RGB split mask. This is the one that we did in class. |
|
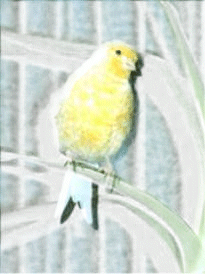
This is the picture with a red channel of the RGB split mask. I don't really see much difference in this one from the green one. |
|
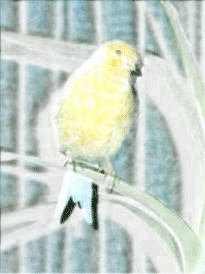
This is the picture with a blue channel of the RGB split mask. The differences on this one are minor |
|
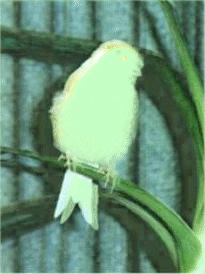
This is the picture with a cyan channel of the CMYK split mask. This one does not work well with this photo. |
|
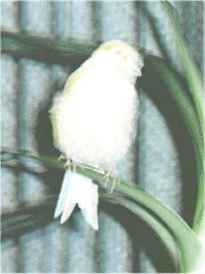
This is the picture with a magenta channel of the CMYK split mask. I don't like this one either. It just looks like somebody jiggled the camera while taking a picture of a light colored bird. |
|
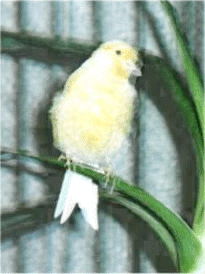
This is the picture with the yellow channel of the CMYK split mask. As you can see this one does not work very well either for this photo. |
|
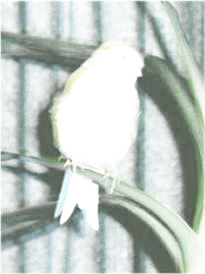
On this picture I used the black channel of the CMYK split with the mask invert not checked. |
|
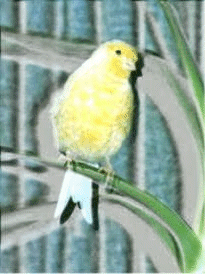
This time I checked the invert mask data. This one definitely has more possibilities. |
|
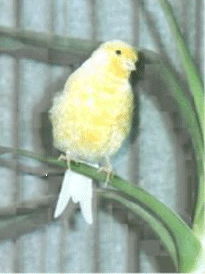
I was wondering what the splits of the HSL would look like. So I just started experimenting. This one is the hue channel with the invert mask data turned on. |
|
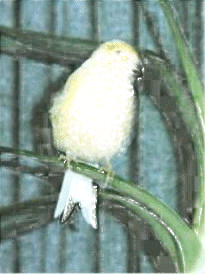
This one is the saturation channel with the invert mask data turned on. |
|
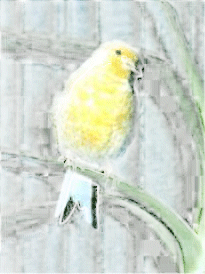
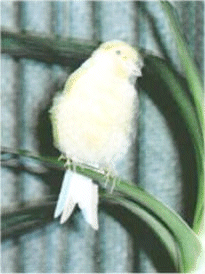
This one is the saturation channel with the invert mask data turned off. Wow! This is an interesting effect. |
|
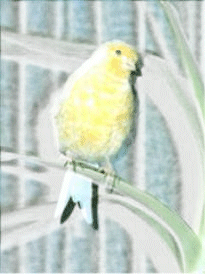
This one is the lightness channel with the invert mask data turned on. |
|
This one is the lightness channel with the invert mask data turned off. |


