
If you would like to try this tutorial go here.
The assignment this week:
You are a very well known artist and you've just finished a grueling two years putting together your latest collection of paintings. You have the "show of a lifetime" in three weeks. The only obstacle facing you now is finding the proper frames to showcase your hard work and talent. Unable to find frames that match the quality of your art, you decide to take matters into your own hands and create frames that are worthy of this occasion. (Martha Stewart, eat your heart out!)
This week's assignment is to create four frames using the techniques taught in our lesson. The first one should be the one from the tutorial; the remaining three are up to you to design and create. You are only limited by your own imagination. Plan on experimenting with lot of different sculpture and texture effects. Suggestion: You might even want to really showcase some of your own work for others to see. We'd love to see it!
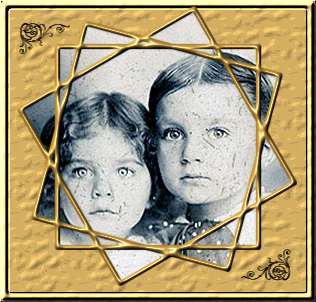
This is the frame I made in class. I tried to follow along exactly, but I accidently applied texture 39 from my PSP 6, instead of the texture 36 called for. (My students are not the only ones with SLD) The frame looked sort of plain, so I applied a dingbat to the corners. I used the * and the ( from Davy's dingbats. While I was fussing around with fitting the picture in the frame Bella suggested saving a copy of the frame in the PSP Frames folder and the Frame Wizard would size the frame for you. What a great idea! This trick should be added to the Tutorial. So I saved it to the frame folder. First you have to be sure that you have merged all layers and that the layer for the picture is transparent. Then when you try to save the frame navigate to the actual Frame Folder within PSP and place it there being sure to add the .pfr extension. The picture I used is a picture of my Great Aunt and Uncle back in 1899. Even though the picture shows the wear and tear of the last hundred years it is still a beautiful picture.
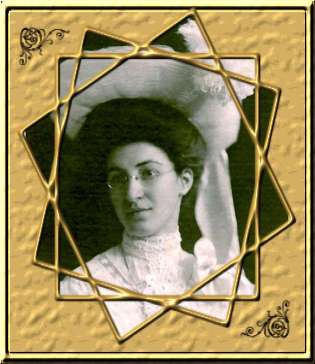
This is the frame I saved to the Frame Folder. I let the Frame Wizard apply it to this picture of my Grandmother on her wedding day back in 1906. Notice the distortions that the wizard made to make this frame fit the picture.
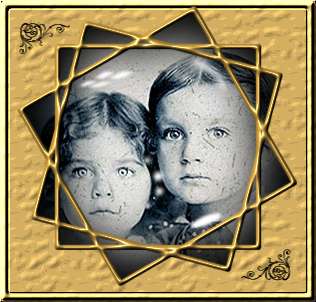
Since this is supposed to be a picture frame I decided to see if I could make it look glassy with some of the techniques I learned doing the glass top box. This is the result.
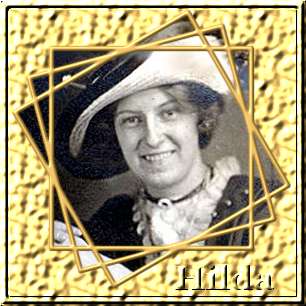
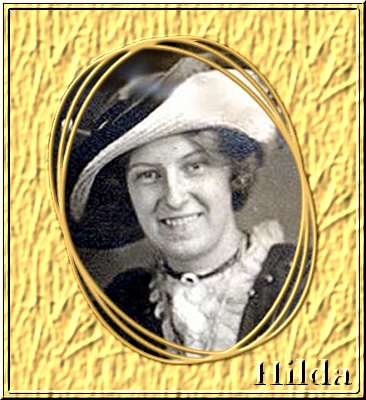
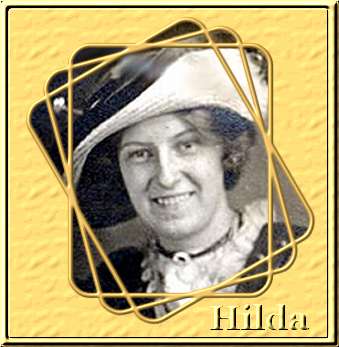
This frame and the next two followed the tutorial just using different preset shapes and textures.This is my other Grandmother taken about 1915.
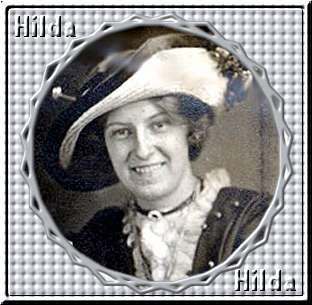
I was getting a little tired of the Brass (gold) color frame so decided to try silver.
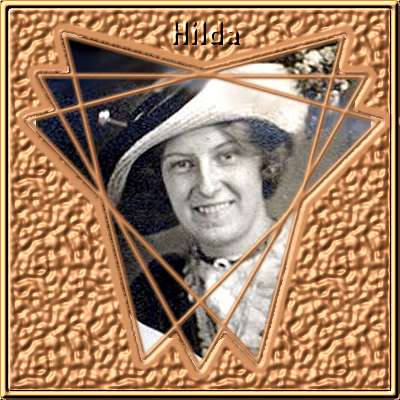
On this one, not only did I use the copper color I also tried something new. After applying the first layer of sculpture to the outside of the frame and before adding the texture, I went to selections||modify||contract with a setting of 10 then I applied the texture. This kept the texture a little away from the picture and the area on the outside where the frame edges will be.
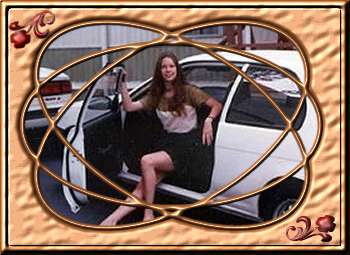
I applied the texture layer to the main part of the frame two times. I also used pattern 8 on the sculpture section when I was adding the dingbat which also came from Davy's Dingbat collection listed above. I selected the small letter a. Used mirror and flip settings in the image setting to copy and turn the dingbat for the other side. Applied the sculpture setting twice. This is my beautiful, talented, kind, thoughtful, wonderful daughter.
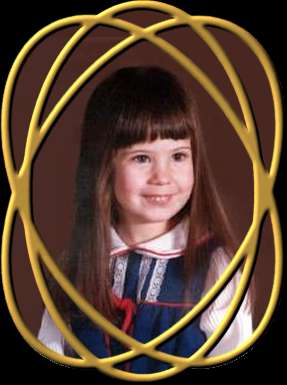
Just wondered if you had to complete the outside of the frame. I sort of liked some of the lined frames with pieces of the photo showing through the openings.
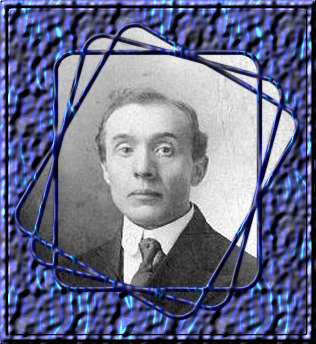
I tried another pattern setting at the sculpture step.
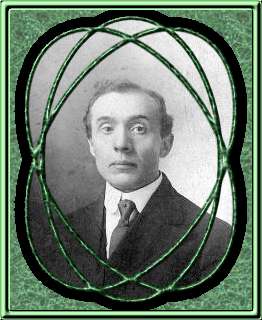
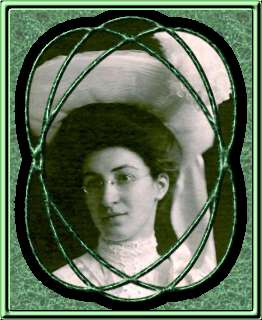
On this matched set of my Grandmother and Grandfather taken in 1906 I used the selection||modify||expand 10 pixels setting before I applied any of the sculpture setting. I also only applied it one time. This lets the black undercoat show around the central frame.

