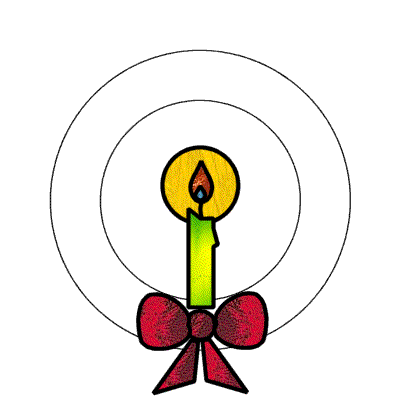
1. Add a new vector layer and name it candle
2. Activate your Preset Shapes. It is probably still set to rectangle, but if it is not then select rectangle.
Retain style = unchecked
Antialias = checked
Create as vector = checked
Line width = 4
Line style = solid/default
3.Make a candle size shape above the center of the bow.
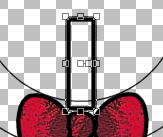
4. To make the dribbles, etc. for the candle we do not have enough nodes. We will need to add some. First zoom into the candle area to about 3:1 (View/zoom in by 1 - do this twice) Then center the candle where you can see all of it. Activate your Vector Object Selector (square with cursor inside) and choose Node edit in the tool option pallette. Check to be sure you are in Node Edit, then to add a node hold down the control key and hover the mouse over the line where you want to add a node - when you see the word add next to the + sign click your mouse and it will add a node. (Note: If you get already to add nodes and realize that you have not zoomed in enough be aware that when you activate the zoom tool it will kick you out of node edit and after you get the zoom to where you want it you will have to activate the Node Edit button again.)
5. Add one new node to the top of the candle and 3 new ones along the upper right side.
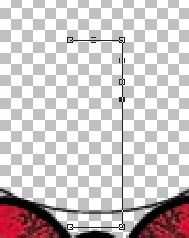
6. Now, just like we did with the bow just move the nodes till it looks like a candle with a drip. This probably involves only moving two nodes. On the top, move the upper left corner up and on the right side move the center node of the 3 you added out and down slightly.
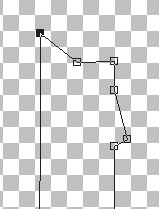
7. Right click and quit node editing, and go to View/Normal viewing (1:1)
8. On the tool Option pallette go to properties, or right click and select properties and fill candle with Cracked Emerald _ rotate angle until the striations are up and down (I used 342 at 100% scale) and set scale at 100%. Click OK and OK, then deselect.
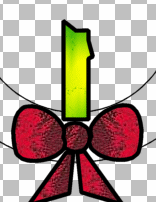
9. Now, we need a wick. Activate the drawing tool (the pencil just above the preset shapes) - set it for Freehand, Line width 4, Antialias and Create as Vector both checked, Close path not checked. Draw a short straightish line (if it bends a bit that's OK) where the wick should be.
10. For the flame activate your Preset Shapes and choose the tear drop shape from the selection panel. Mine was way down near the bottom and was completely black, but if you have your background color set to null it will make the outline. Settings - Line width 4, Retain Style unchecked, Antialias and Create as vector checked.
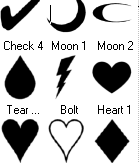
11. Draw 2 tear drop shapes. One very small and one larger. You may draw them anywhere, we will move them later.
12. Activate your Vector Object Selector and select Properties. Fill the small one with blue and the larger one with orange.
13. Select the larger one and move it to the top of the wick, then move the smaller one into position. If you can't see the smaller one after you move it and deselect you might have to change the position of the tear drop shapes in the Layer Pallette. Just drag the top one below the bottom one, and then you should be able to see the small blue flame.

14. Now for the candle glow. Activate the Preset Shapes again and select Ellipse same settings as before. Place your cursor at the tip of the blue flame and holding down the shift key and right clicking draw a circle that encompasses all of the flame and a bit of the top of the candle.
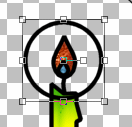
15. Activate the Vector Object Selector and go to Properties and fill with yellow glass. Deselect. Now this probably covered the flame. You will need to drag the ellipse layer down below the rectangle layer.
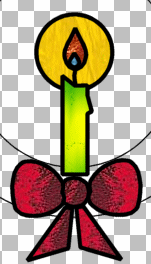
Look at that! Your candle is finished. Great job! Now would be an excellent time to save your work!
On to Phase 3 - the Wreath, Leaves, and Baubles
Or finish with a Phase 5 - Plain Wreath