 |
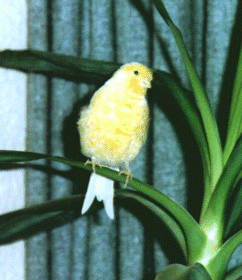
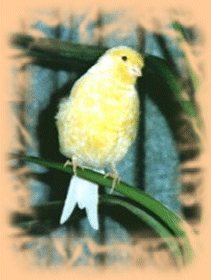
This was the original picture. |
 |
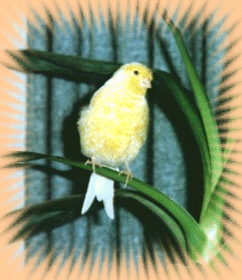
This is the picture with a fade-away mask. |
|
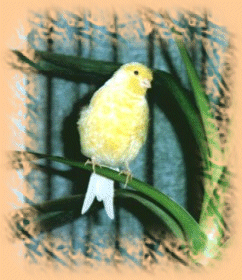
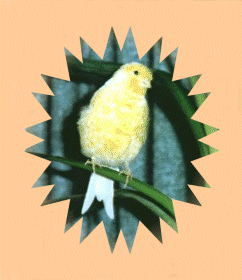
This is the picture with a spiked mask. |

|
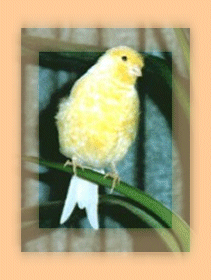
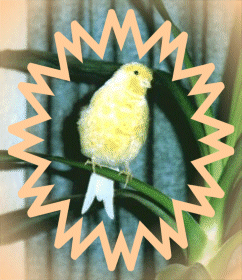
This is the picture with a spiked mask. But on this version I did not feather the mask. The spikes are a whole lot spikier! Also, I altered the original picture some before I started. I was not happy with that light edge on the left side of the picture. So I selected a portion of the original picture without the light part, then resized the result to the original height. |
|
This is the picture with a textured mask. |
|
On this picture I feathered my basic selection and then I used the GridMin Filter in the Filter Factory Gallery H with the following settings, Grid size set to 180 and Lightness set to 100. I am not quite happy with the positioning, but I can see that this could be used to advantage to highlight a small portion of the picture. |
|
I followed the tutorial instructions for a texured mask, choosing crumpled paper as my texture instead of twigs. |
|
I chose the Spiked mask that came in the PSP Edges folder for this one. Then I erased the area outside the spikes. |
|
I chose the Spiked mask that came in the PSP Edges folder for this one. This is what it looks like if you don't erase the outside edges. |

|
I chose the oval 5 mask that came in the PSP Edges folder for this one. Then I was just playing around with it. |

|
| I started by opening a 400X400 pixel background color black. Then I added a new layer and placed my picture on it. The picture of my beautiful, talented, kind, thoughtful, wonderful daughter was rather tall and narrow. I resized the canvas to 400X450 and made it black also so there was a border all around the picture. Then I applied the floating squares mask to the picture. Then merged this all together. Opening a new window 400X450 I created a new mask following the tutorial for a textured mask using the Daze setting as the texture. After applying this to the picture I made a new background layer and floodfilled it with the color of my web pages. |