 |
This was done following the tutorial. |
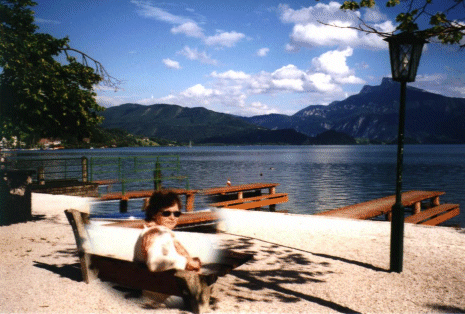
On this one I used a rounded rectangular shape for my selection, using all the other settings from the tutorial, and took the whole bench and person. After reducing the background to 40% of the original I changed to the zoom layer and reduced it to 50% of the original. Then using the mover tool I carefully lined up the edge of the beach and covered the small dock so the larger piece blended in with the smaller background. When I did this, a portion of the zoom segment extended below the original picture, so I used selection tool again changed to rectangle and selected the edges of the original picture. Then I went to Selections||Invert and then pushed delete. While I had the outside selected I went to Selections||Modify||expand by 1 pixel and pushed delete again. Then went to selections||Invert again and then Image||Crop to selection. This blends together so well, that I doubt anyone would notice the difference. But, this had the effect of significantly lowering the total size of the picture while retaining the visibility of the main subject. This trick has definite possibilities. |

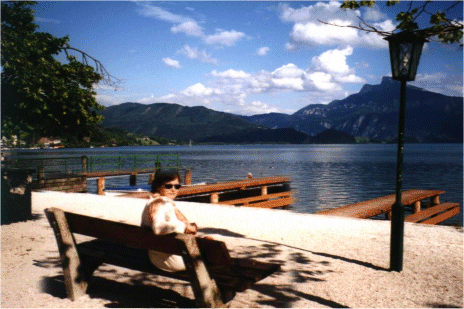
This picture started out 336 x 483 pixels weighing in with a hefty 475.4 Kbytes. Using this technique I reduced the background by 50% and the zoom section by only 60%. Then blended the picture together. Now it is only 163 X 240 pixels and 205.6 Kbytes. Which will result in a significant saving of load time. |


|